¶ Client Quick Start
Welcome! In this article, we will go through Polynom's core fundamentals and get you onboard.
We'll cover just the basics:
- Minimum requirements
- Where can I download Polynom?
- First run with the Polynom Wizard
- Joining a Polynom server
- Backing up your Graphatar™
Important topics we won't cover in this Quick Start Guide (but recommend you read up on in our Wiki):
- Detailed import and export of Graphatars
- Adding and editing Social Encryption™ keys
- How permissions work from a user's perspective
¶ Minimum Requirements
Polynom uses cutting-edge post-quantum cryptography and thus requires reasonably up-to-date operating systems to function.
Currently, there are Polynom clients for Windows 10+, Linux (~Debian 12+), MacOS, Android 9+ and iOS.
On very new Windows systems, S Mode may be on by default, preventing you from installing Polynom until you disable S Mode for the installation. If you encounter an S Mode error, please visit
Switching out of S Mode in Windows for instructions relevant to your version of Windows.
¶ Where can I download Polynom?
Go to https://polynom.app and download the client for your operating system.
¶ First run with the Polynom Wizard
After installing Polynom, double-click on the desktop icon to start the app. On the first run, you will be shown the Wizard where you can create your Graphatar (identity) and then join a server.
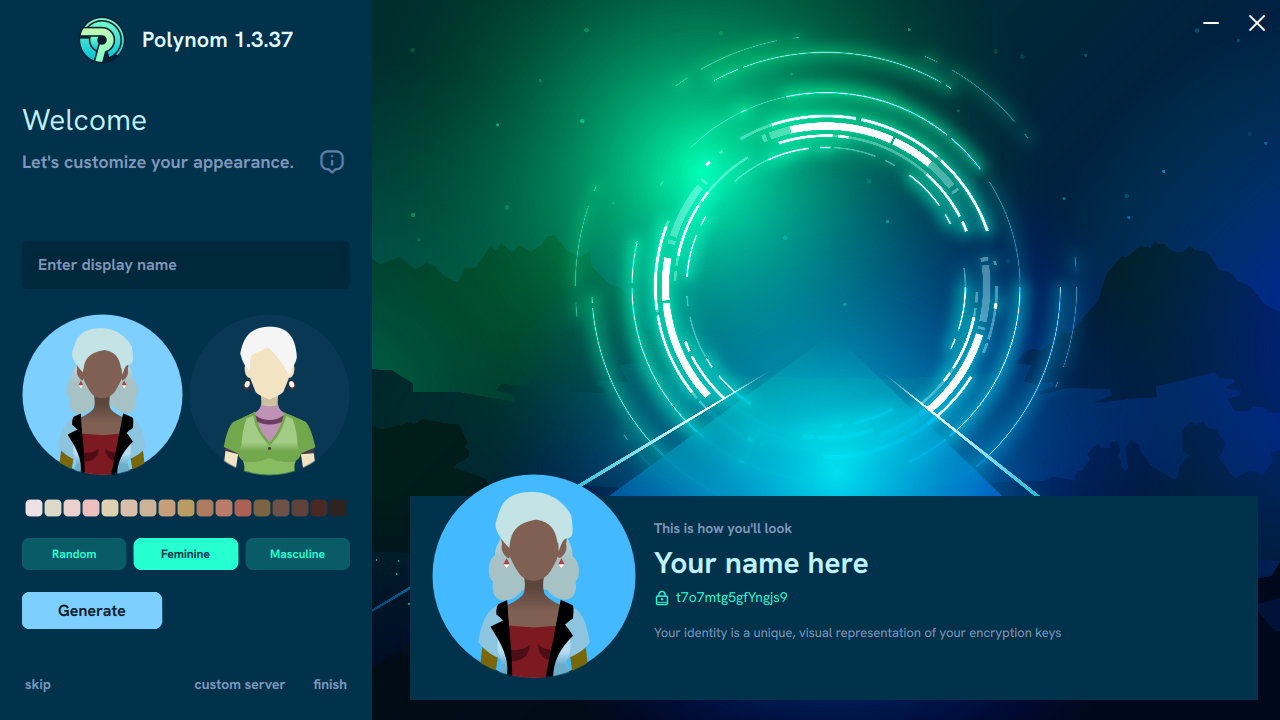
- Enter your user name;
- Choose among the options, then use the Generate button to roll new Graphatars;
- Take your time! There is no back button;
- When you find a Graphatar/ID you like, you have two choices;
- Click finish, and you will automatically be added to the Demo Server and taken to the Welcome page, or;
- Click custom server to replace the default Demo Server address with the address and port of a Private Server:
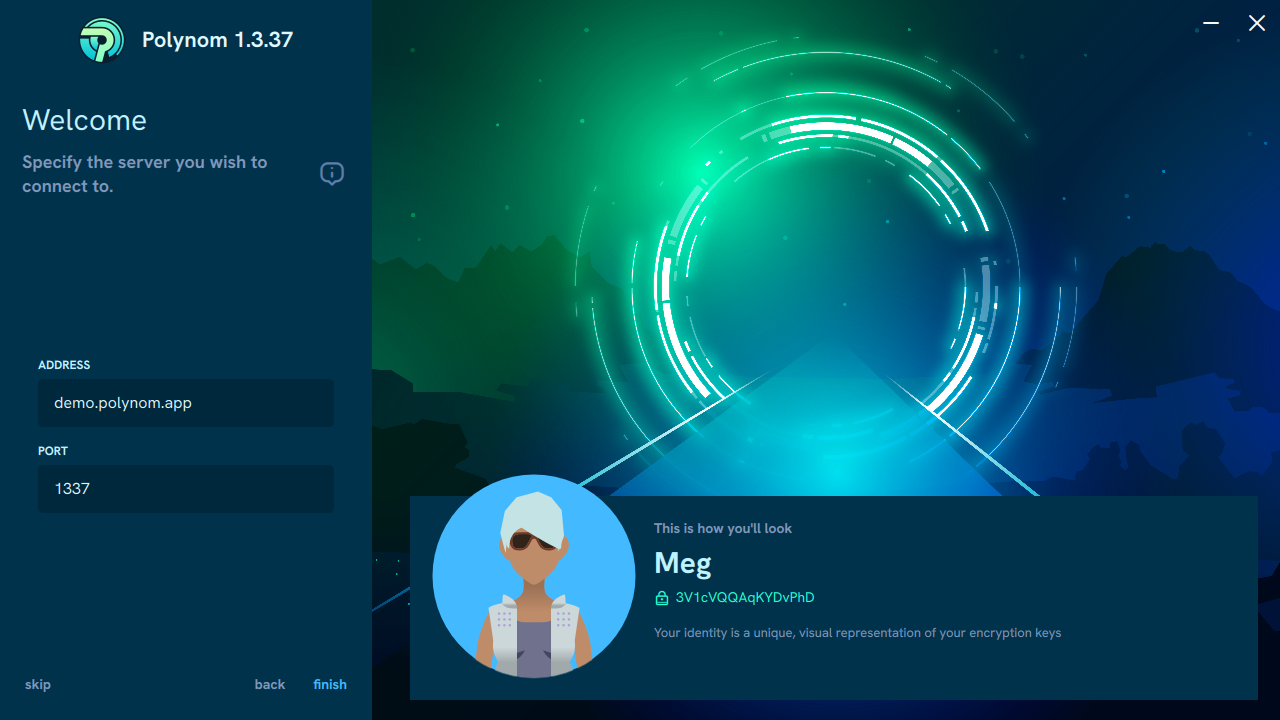
- Click finish to be taken to the Welcome screen:
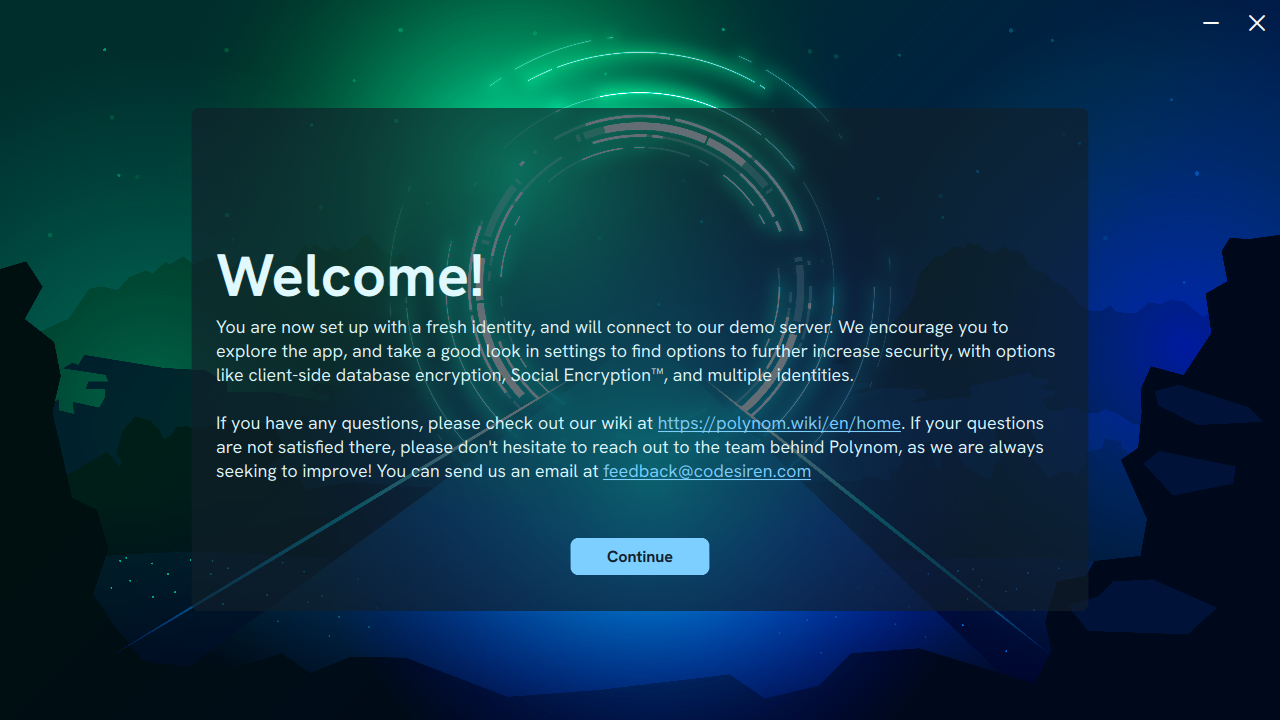
- Click Continue to arrive at the server you chose;
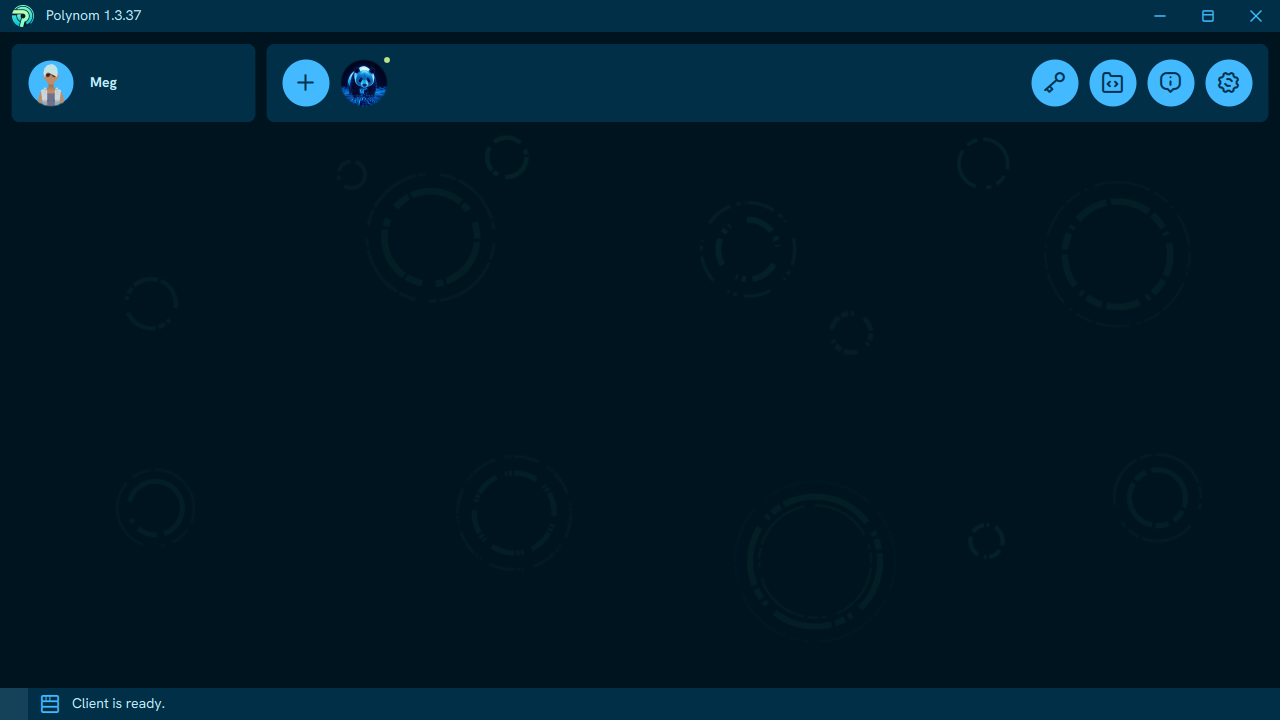
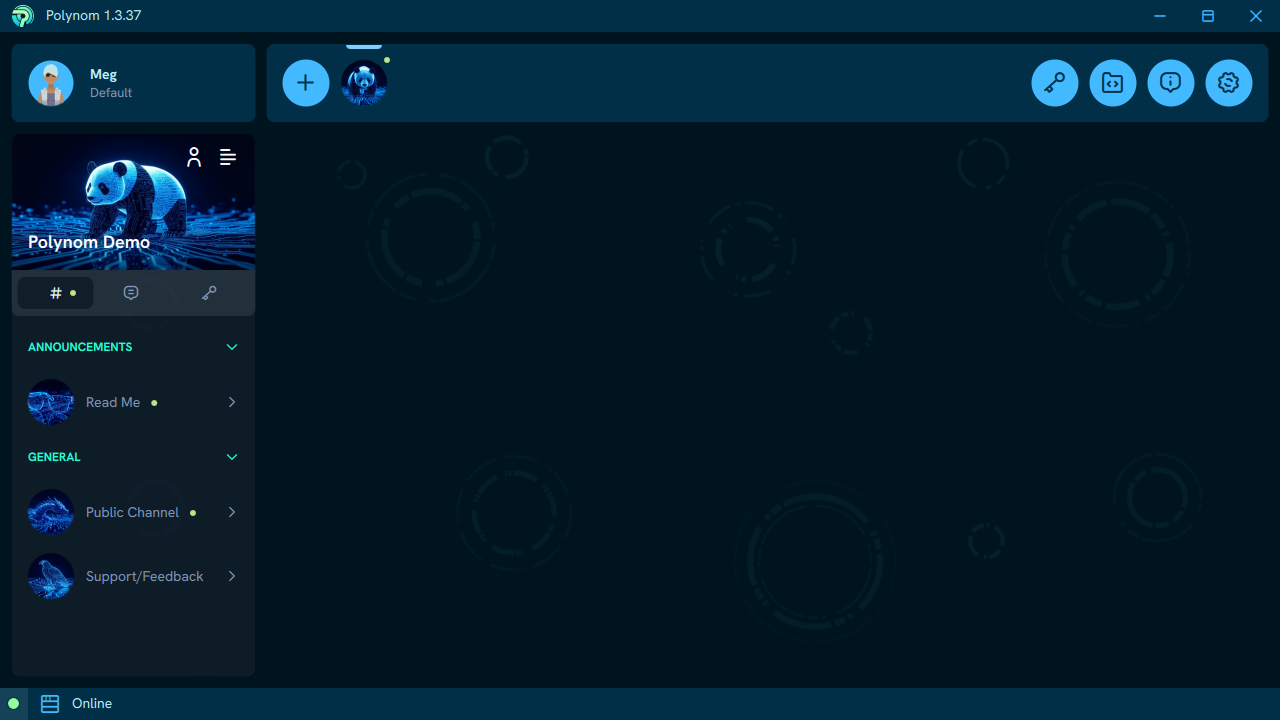
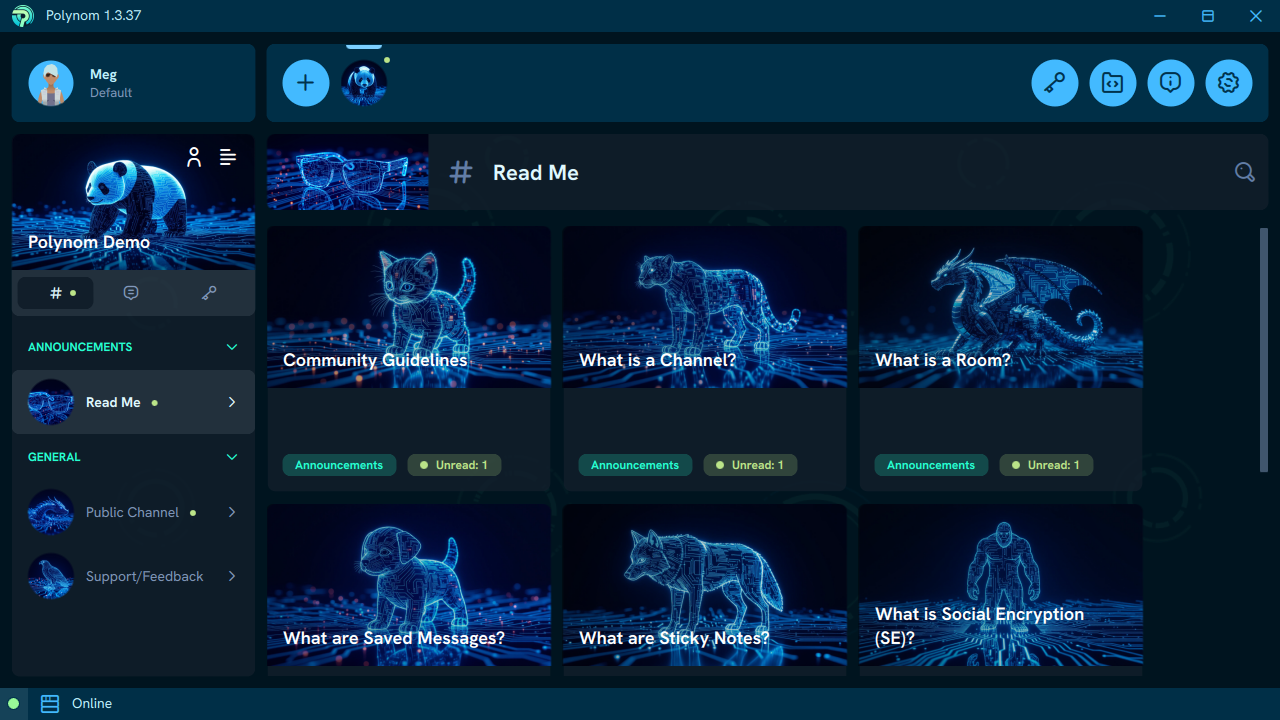
- You are now in the app itself and need to click on the server's icon in the top toolbar to see it;
- Click on any channel on the left to navigate around the server and familiarize yourself with Polynom!
¶ Joining a private Polynom server
The demo.polynom.app server is here for demonstration purposes and users remain pretty locked-down. Polynom is meant to be self-hosted, so it may take some time before a number of private servers become available for use.
To join a privately run server:
- Click the + icon on the toolbar;
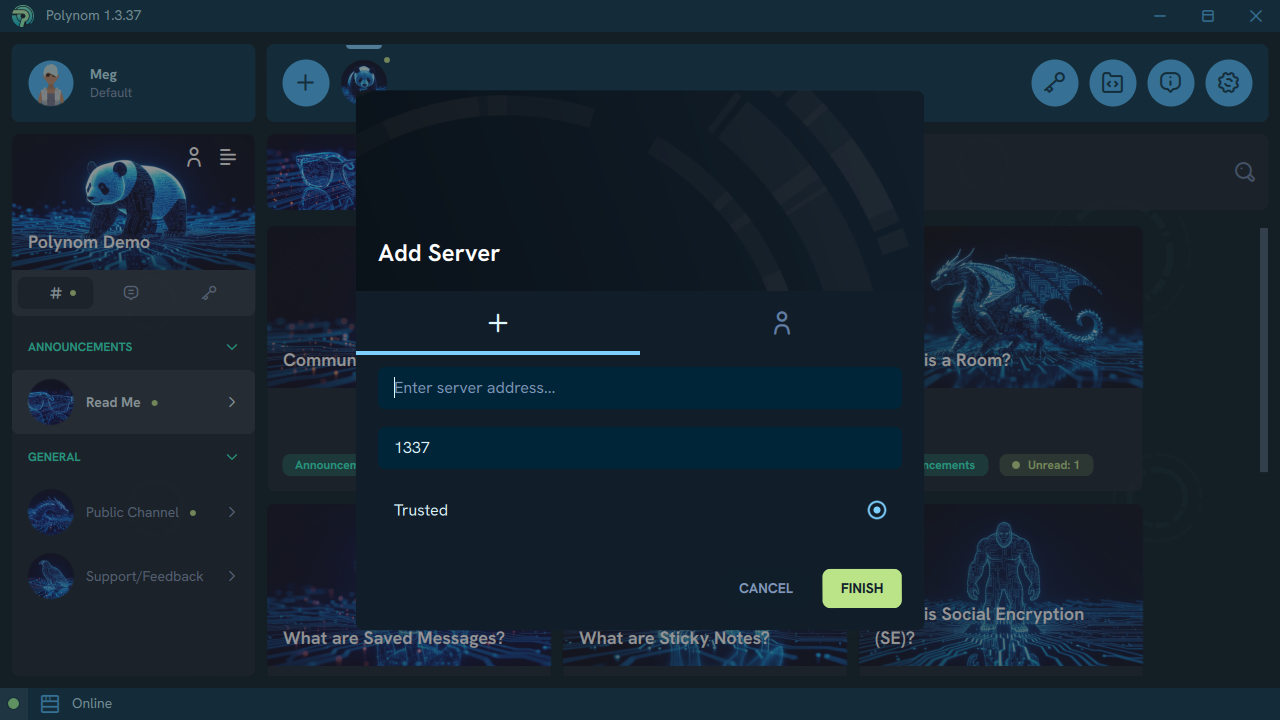
- Enter the URL of the server and if necessary, edit the port number;
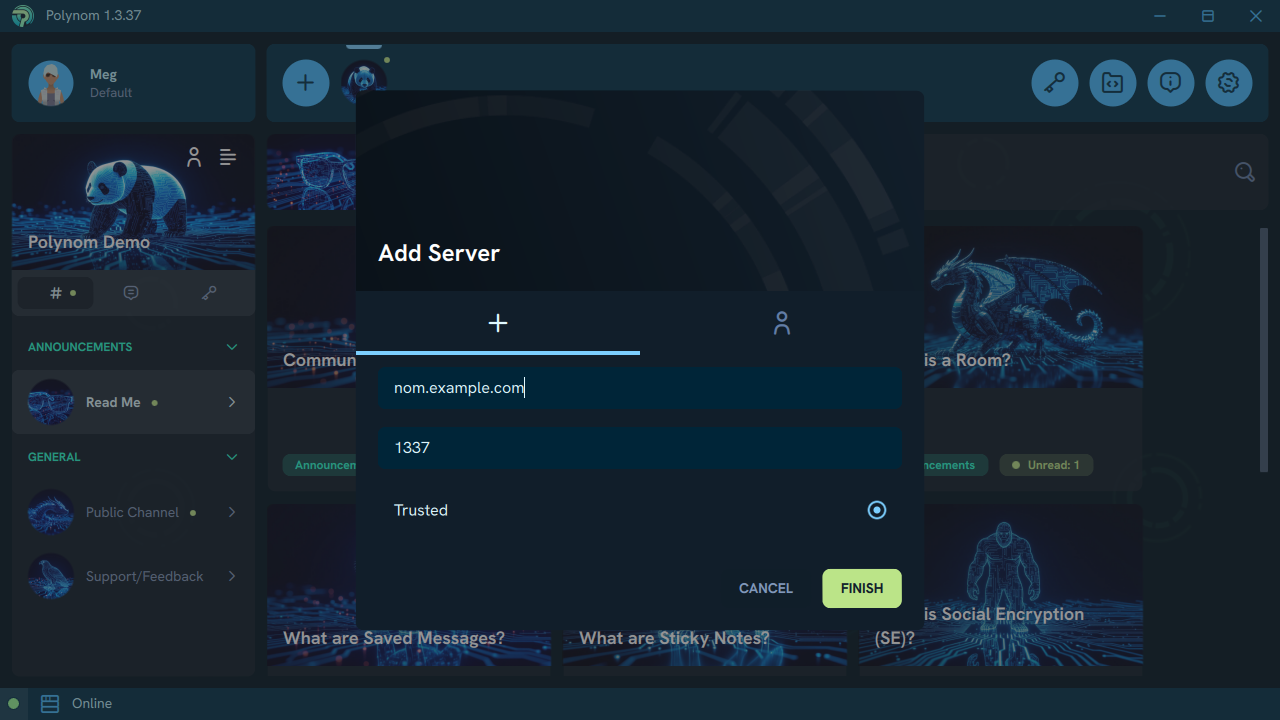
- Click Finish and its icon will appear on the toolbar;
- Select that icon to view the new server.
¶ Backing up your Graphatar
It is very important that you export your Graphatar and protect it with a strong password.
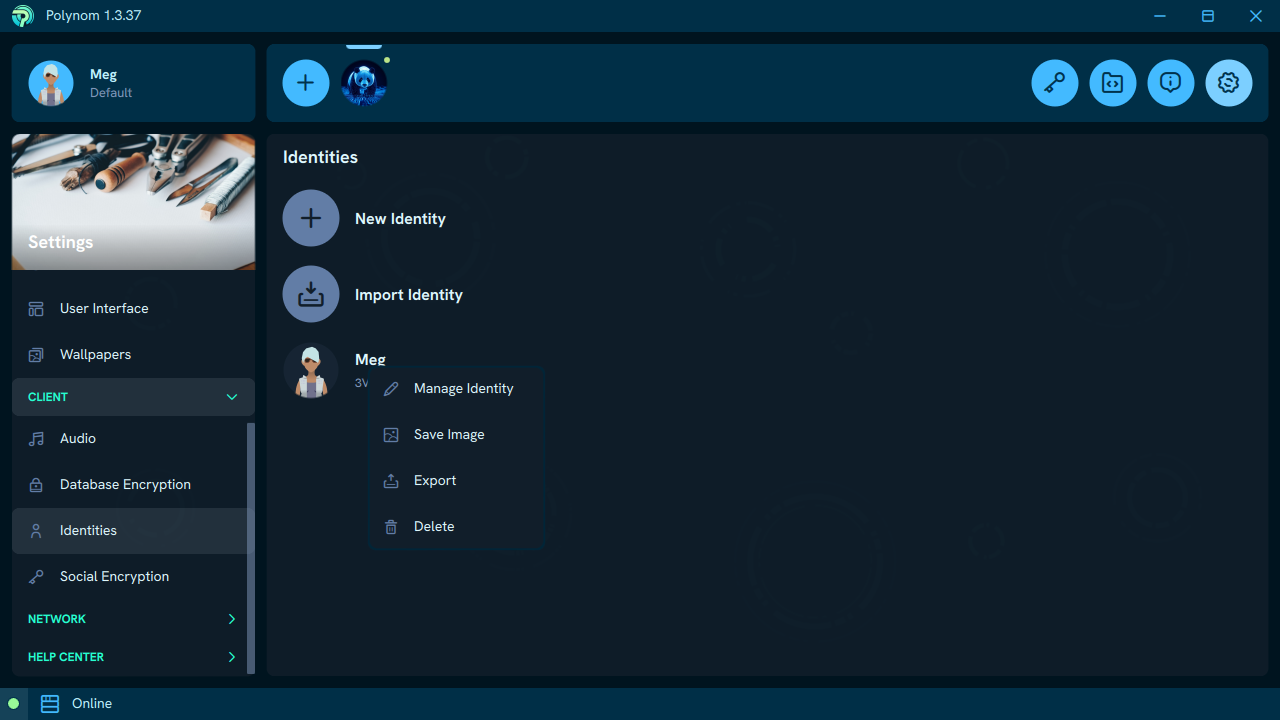
- Click on the Settings gear icon in the tool bar;
- In the CLIENT category, click on Identities;
- Right-click on the Graphatar you want to export, and choose Export from the context menu:
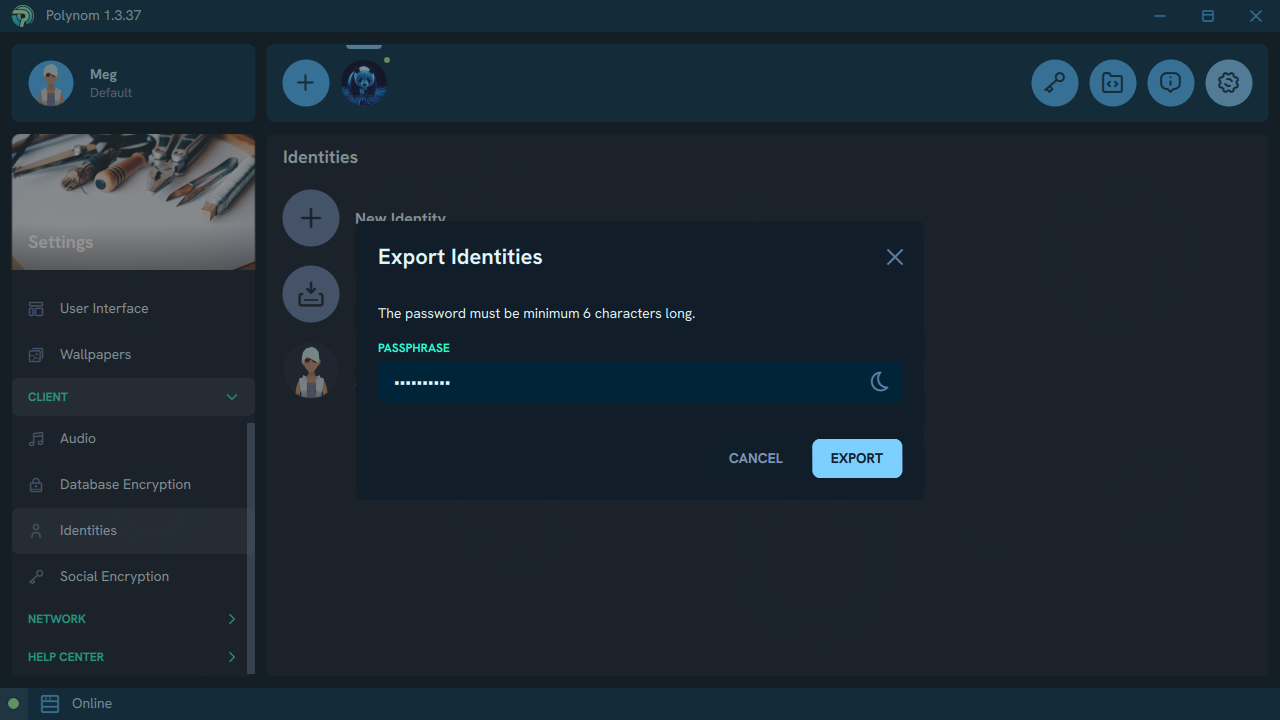
- Enter a strong password and store it safely, then click Export;
- Save your {username}.nom file some place safe.
- You can copy your {username}.nom file to your phone and import it into Polynom mobile.
You've done it!